How to Clean Kitchen Appliances Without Damage: A Safe Guide

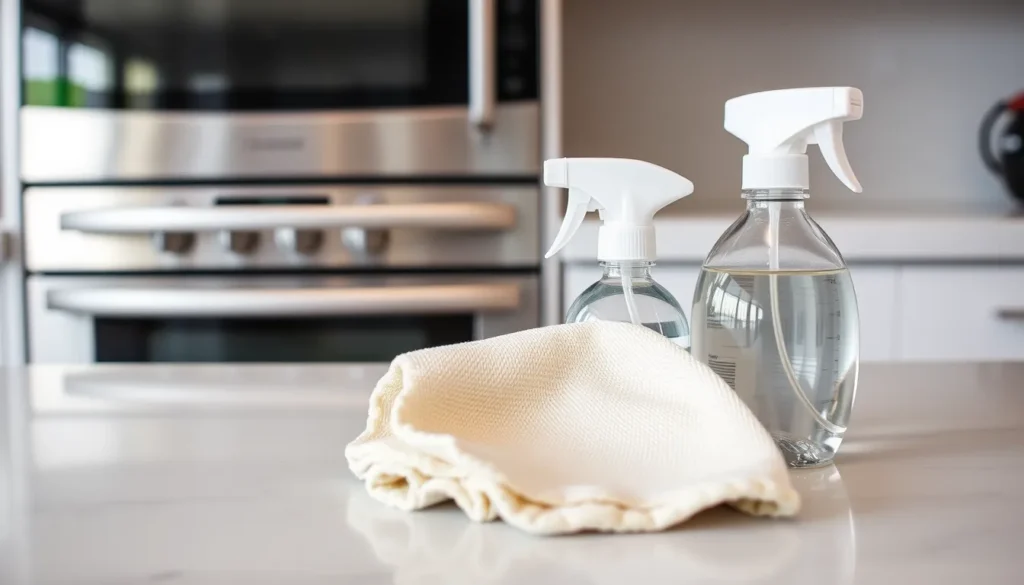
Many homeowners damage appliances by using harsh chemicals on delicate surfaces or ignoring electrical safety. This guide explains how to clean kitchen appliances without damage by focusing on material compatibility. You will learn to distinguish between external finishes, internal cavities, and sensitive electronics.
Instead of generic advice, this article provides specific protocols for stainless steel, glass, and rubber seals. You will discover how to prevent scratches, avoid voiding warranties, and eliminate detergent residue that causes long-term wear.
By understanding the mechanical risks involved, you can maintain your equipment safely. The goal is to restore appearance and function while preserving the integrity of every component.
Identify the Material Before You Start
Before applying any solution, identify the material composition of each appliance part. Misidentifying surfaces is the primary cause of irreversible cosmetic and functional damage. Do not assume that all metallic-looking areas are the same; stainless steel, aluminum, and coated metals react differently to cleaning agents.
Start by locating the manufacturer’s label. These tags, often found on the interior door frame, back panel, or base, specify approved cleaning methods and list prohibited chemicals. This step is critical for protecting warranties. If a label is missing, look for model numbers online to find the official manual.
Common materials include stainless steel, tempered glass, plastic housings, and non-stick coatings. Each requires a distinct approach. For instance, glass cooktops are highly susceptible to scratching. Using abrasive cleaners or steel wool on these surfaces creates permanent micro-scratches that collect grime and cause future food to burn. Similarly, non-stick oven interiors lose their protective layer if exposed to harsh alkaline detergents or stiff brushes.
Always test a small, hidden area with your chosen cleaner first. This simple check prevents widespread damage. Note that some plastics can yellow or become brittle when exposed to high-concentration alcohol or chlorine bleach. Understanding these material limits ensures you use non-abrasive tools and appropriate solutions, preserving the structural integrity of your equipment.
Safety First: Power and Water Precautions
Before introducing any liquid, always unplug the appliance. This universal rule eliminates the risk of electric shock and protects sensitive electrical components from short-circuiting. Never clean a plugged-in device, even if it appears to be in standby mode, as internal circuits may remain live.
When cleaning, keep water away from vents, ports, and control panels. If you must wash an interior part, do so at the sink, away from the main unit. For appliances with sealed electronic hubs, use only damp cloths rather than soaking the entire assembly. Excess moisture trapped inside can lead to corrosion or mold growth, particularly in dark, enclosed spaces where air circulation is limited.
Thorough drying is critical. After wiping down surfaces or removing parts for washing, use a microfiber towel to eliminate lingering dampness. Ensure seals and gaskets are completely dry before reassembling the unit. Trapped water can degrade rubber materials over time, causing leaks or loss of suction. Remember that control boards and display units should never get wet. If liquid does contact these areas, do not power the device on immediately. Allow it to air dry fully or seek professional repair to prevent permanent damage to the circuitry.
Cleaning Stainless Steel and Glass Surfaces
External surfaces often hide damage caused by incompatible tools. For stainless steel, always feel for the grain under your fingertip. Wipe along this direction, never across it, to prevent microscopic scratches that appear as streaks. Use a microfiber cloth dampened with water or a specialized cleaner. Avoid harsh soaps that leave detergent residue, which can dull the finish over time. A non-abrasive approach is essential here; circular motions or scrubbing against the grain will permanently mar the metal.
Glass cooktops and oven doors require a different strategy. Apply a small amount of white vinegar or a dedicated glass cleaner to a soft cloth, not directly onto the surface. This prevents liquid from seeping into electrical components or control knobs. Wipe in broad, overlapping strokes, then buff dry with a clean, dry cloth to eliminate water spots. Never use steel wool, razor blades, or abrasive pads on glass. These tools create micro-fissures that compromise the tempered surface and make it susceptible to cracking under heat stress. Polished metal handles and trim follow similar rules: gentle, directional wiping only.
Interior Care: Ovens, Microwaves, and Refrigerators
Cleaning internal cavities requires distinct approaches to prevent chemical damage and electrical hazards. Start with the oven by removing racks and drip pans to access the main cavity. Apply a non-abrasive, oven-safe degreaser directly to baked-on grease, allowing it to dwell without drying out. Avoid harsh, fuming cleaners that release toxic vapors in enclosed spaces; opt for vinegar-based solutions or manufacturer-recommended products instead. Wipe surfaces with a soft cloth, ensuring no detergent residue remains to prevent smoke during future heating cycles.
For microwaves, use the steam method to loosen dried spills. Place a bowl of water with lemon wedges inside and run the unit on high for several minutes. The resulting steam softens grime, letting you wipe the interior walls and turntable with a damp sponge. Never submerge the unit in water, as liquid must not reach the electrical components behind the control panel.
Refrigerator maintenance focuses on hygiene and seal integrity. Remove all food items before cleaning. Wash shelves and bins with warm, soapy water, then dry them thoroughly to prevent water spots. Pay close attention to the door seals and gaskets, wiping away mold and debris with a damp cloth. Inspect these rubber parts for cracks or stiffness, as compromised seals allow cold air to escape and increase energy consumption.
Maintaining Small Appliances and Filters
Small appliances require specific attention to prevent clogs and electrical issues. For dishwashers, remove the filter assembly at the bottom of the tub. Rinse it under warm water to clear food particles, then scrub gently with a soft brush. Inspect the spray arms for blocked holes; soak them in warm, soapy water or use a pin to clear debris. Ensure the detergent dispenser is empty before running a cleaning cycle with a non-abrasive agent to remove detergent residue.
Coffee makers need regular descaling to prevent mineral buildup. Mix equal parts white vinegar and water, or use a citric acid solution, and run a brew cycle without coffee grounds. Follow with two cycles of plain water to flush out any remaining taste. This process protects the heating element and pump from scale-related failures.
For toasters, unplug the unit and turn it upside down to shake out loose crumbs. Remove the crumb tray and wash it with warm, soapy water. Use a dry, non-abrasive cloth to wipe the exterior and interior slots. Never submerge the toaster body in water, as this poses a serious electrical hazard. Regular maintenance of these components ensures consistent performance and extends the lifespan of your kitchen tools.
Common Mistakes That Cause Damage
Chemical Incompatibility
Applying bleach to stainless steel strips protective oxides, causing permanent pitting and rust. If this happens, rinse the area immediately with distilled water and dry it thoroughly. Apply a thin layer of mineral oil to restore shine and protect against future corrosion. Avoid mixing cleaning agents; always dilute solutions to prevent chemical reactions that weaken seals and gaskets.
Thermal Shock
Pouring hot water onto cold glass cookware creates immediate stress fractures. The rapid temperature change causes uneven expansion, leading to cracks that spread over time. If a minor crack appears, stop using the item. For future cleaning, allow glass to reach room temperature before washing or use lukewarm water to minimize thermal stress.
Electrical Exposure
Soaking electrical components, such as blender bases or coffee makers, short-circuits internal wiring. Moisture trapped inside housing units corrodes contacts and breaks circuit boards. If you accidentally wet a plugged-in device, unplug it immediately. Let it air dry in a warm, dry place for at least 24 hours before testing. Do not use heat sources to speed up drying, as this can warp plastic casings.
Ignoring Manual Guidelines
Overlooking manufacturer instructions often leads to detergent residue buildup. Harsh detergents left on sensitive electronics attract dust and degrade insulation. Always check maximum temperature ratings and prohibited substances. Using the wrong solvent voids warranties and accelerates wear on internal mechanisms.
